
Lotus Cheesecake

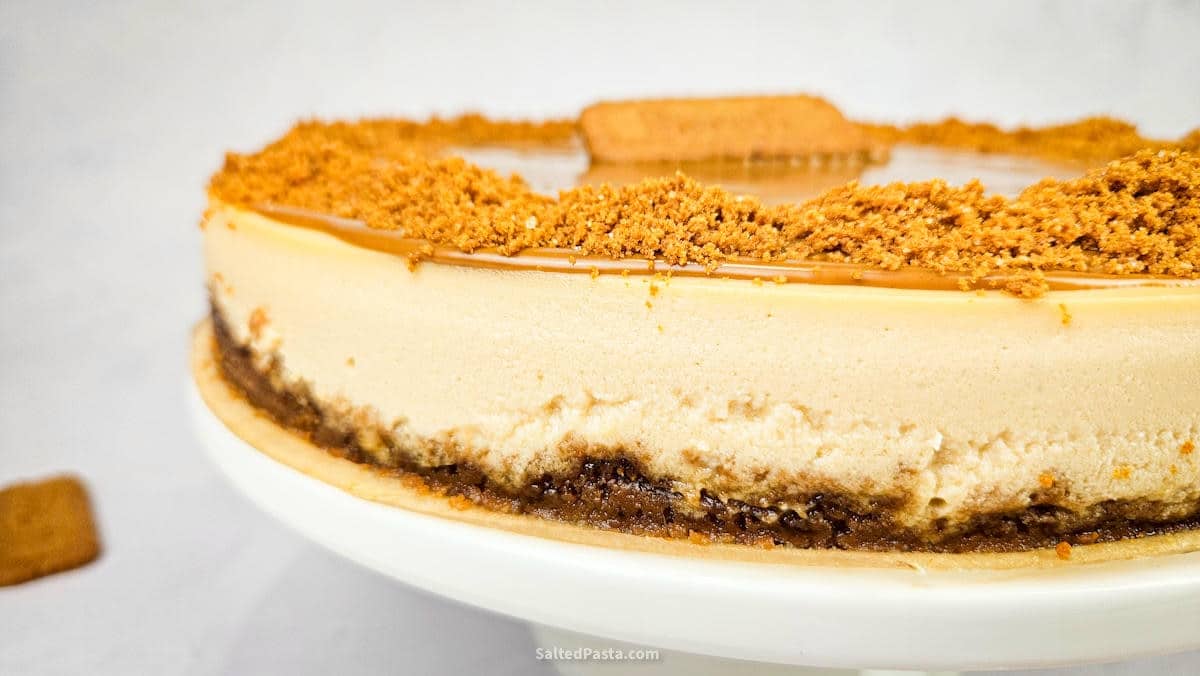
A spiced cheesecake with a crumbly biscuit base that’s incredibly quick to make. The only downside? It needs time to set in the fridge. But I promise it’s worth the wait! If you want to surprise your family and friends with the trendiest cheesecake, just like one from an upscale patisserie, you have to try this recipe.
What can you use instead of Lotus spread?
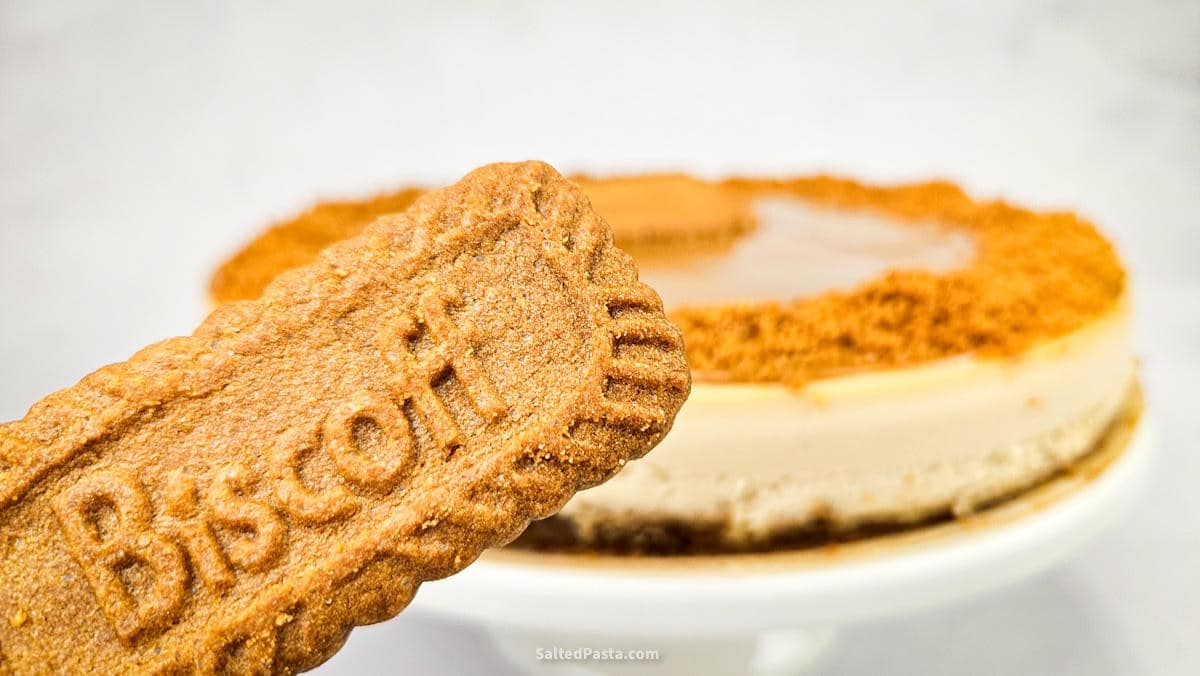
You don’t have to use Lotus Biscoff biscuits and spread for this cheesecake. You can use any cookie butter spread from a supermarket. You can also use any spiced biscuits, such as caramelised biscuits.
How do you make Lotus cheesecake creamy? What cream cheese should you use for Lotus cheesecake?
You don’t need to add butter or mascarpone to the cheesecake filling. All you need is good-quality cream cheese. The higher the fat content, the better. Be sure to check the nutritional information to see how much fat your cream cheese contains. I recommend choosing one with a fat content of at least 18%. This will help make your cheesecake ultra-creamy.
The baking method is also important for achieving a creamy texture: a low temperature and steam. Place a baking tray filled with hot water underneath the springform tin or use your oven’s steam function. Put the cheesecake into the preheated oven and bake at 120°C (250°F), without the fan setting.
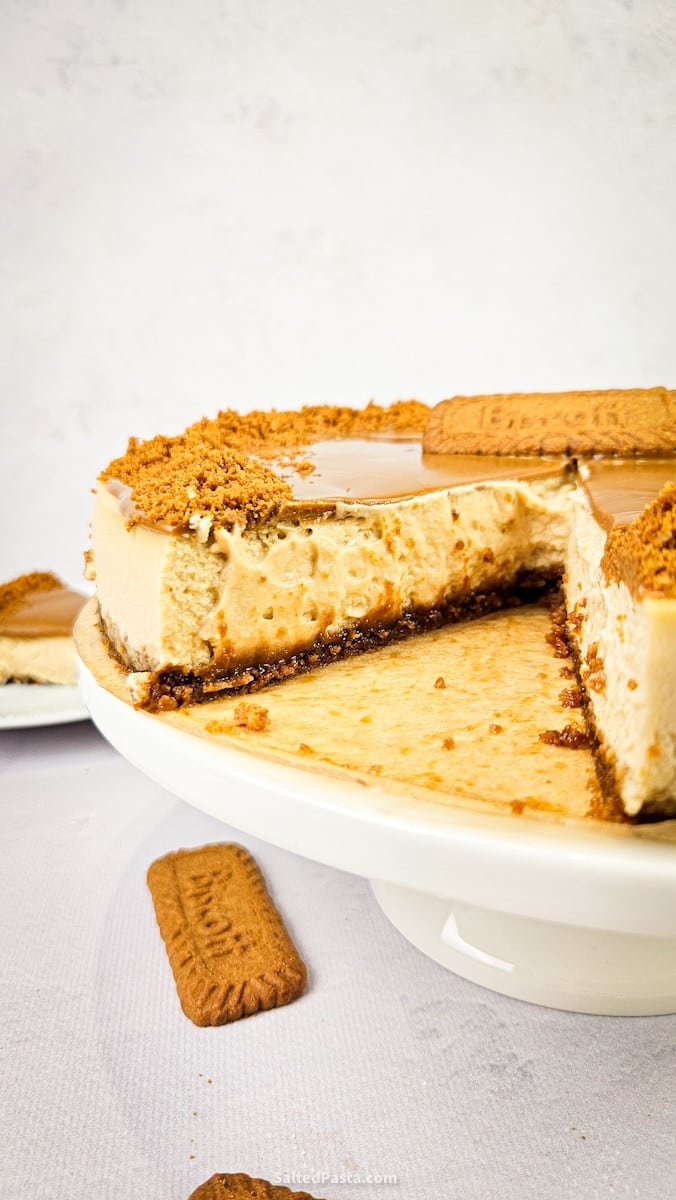
Do you need to pre-bake the cheesecake crust?
There’s no need to pre-bake the cheesecake crust. I used to pre-bake biscuit crusts, but the base still absorbs moisture from the cheesecake filling. Since the cheesecake is also baked at a low temperature with steam, I now skip this step. It makes the cheesecake even quicker to prepare.
How far in advance should you make Lotus cheesecake?
Make your Lotus cheesecake the day before serving so it has enough time to set in the fridge overnight.
Does Lotus cheesecake need to be refrigerated?
Lotus cheesecake must be kept in the fridge after baking. It’s best enjoyed within three days after baking.
What should you serve with Lotus cheesecake?
If you want to take your Lotus cheesecake to the next level, or if, like me, you love the combination of sweet and sour flavours, here are a few ideas for toppings and accompaniments to enhance its flavour:
- Mango sauce
- Blueberry sauce
- Raspberry sauce or jam
- Blackcurrant jam
- Chocolate sauce
Simply buy fresh or frozen fruit and cook it briefly with a little sugar to make your own fruit sauce, or use ready-made jam. You can also melt some chocolate and drizzle it alongside the cheesecake. YUM!
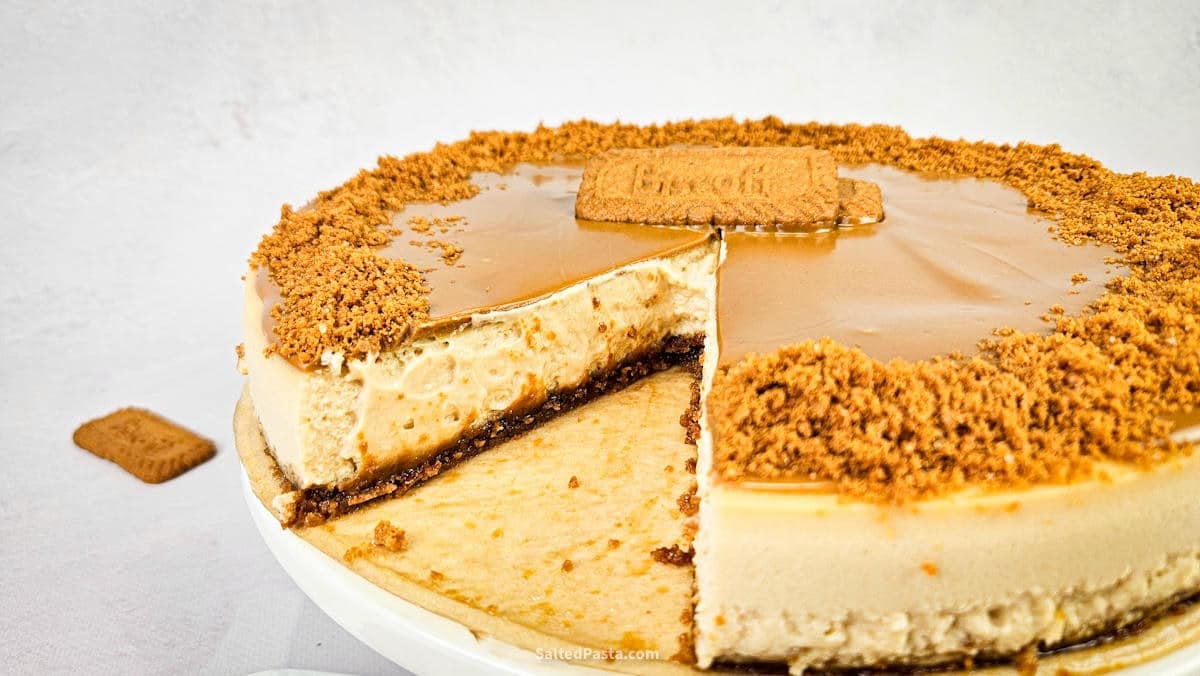
The quantities below make a cheesecake weighing approximately 2,350 g and measuring about 27 cm in diameter.
Follow the step-by-step recipe below to learn how to make the best Lotus cheesecake, and watch the video underneath the recipe.
Don’t forget to subscribe to the SaltedPasta YouTube channel and sign up for the newsletter so you never miss a new recipe!
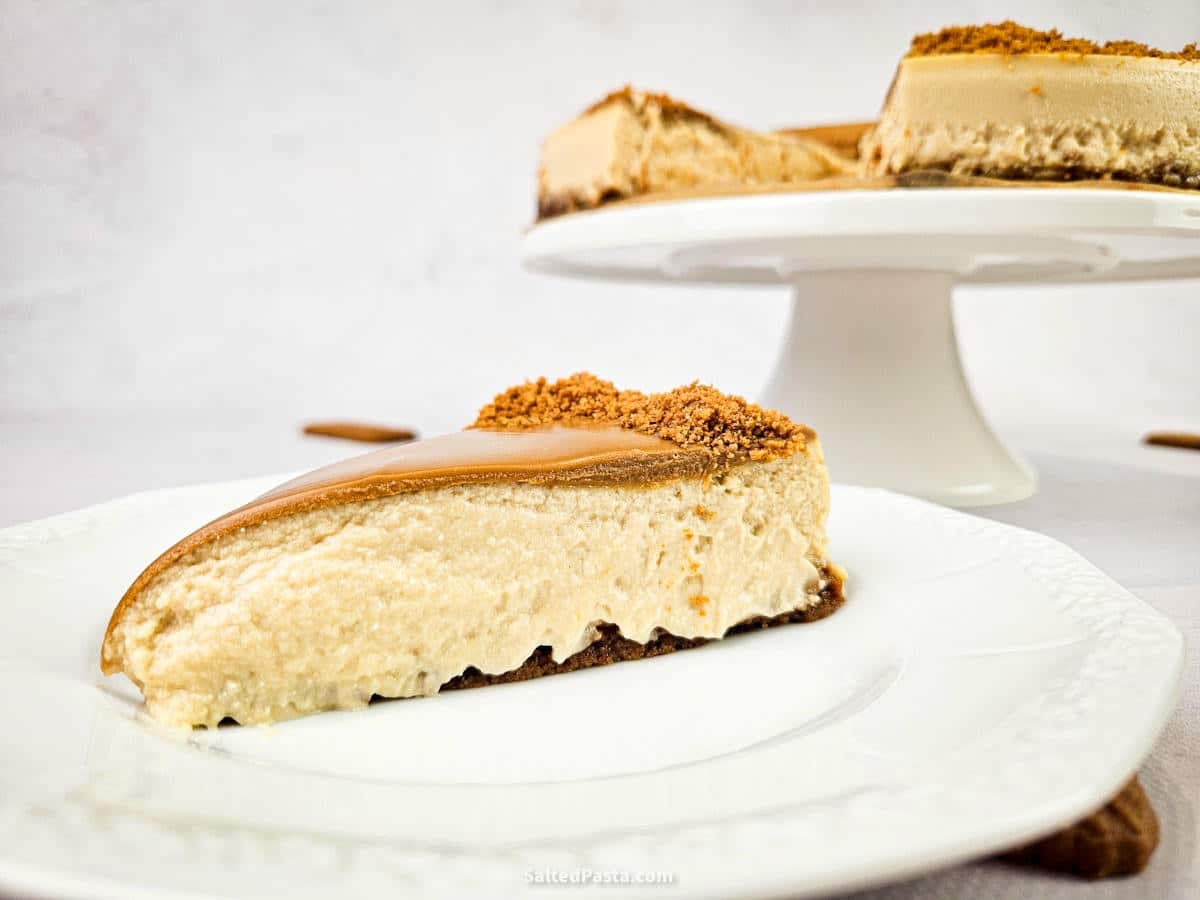
Lotus Cheesecake
Video
Lotus Biscoff Cheesecake Recipe
Ingredients
- 250 g Lotus cookies
- 50 g butter
- 400 g Lotus spread
- 1 kg cheese for cheesecake, at least 18% fat
- 4 eggs
- 200 g sugar
- 200 g cream 36% fat
- 50 g Lotus cookies for decorating the cheesecake (optional)
Instructions
- Crush the biscuits and mix them with the melted butter. Line the base of a springform tin with baking paper. Spread the biscuit mixture over the base and press it down firmly with your hands or the bottom of a glass.250 g Lotus cookies, 50 g butter
- Add the cream cheese, double cream, sugar and half of the cookie butter to the bowl of a stand mixer. Beat until just combined. Add the whole eggs one at a time, mixing continuously. Once all the eggs have been added, mix just until everything is combined. Do not overmix. Pour the cheesecake mixture over the biscuit crust.200 g Lotus spread, 1 kg cheese for cheesecake, at least 18% fat, 4 eggs, 200 g sugar, 200 g cream 36% fat
- Place a large baking tray on the bottom rack of the oven and pour hot water into it. Bake the cheesecake in the steam-filled oven. Place the cheesecake in an oven preheated to 120°C (
 250 °F) and bake for about 40 minutes. Turn off the oven and leave the cheesecake inside for another 5 minutes. Then open the oven door slightly and allow the cheesecake to cool slowly. Once it reaches room temperature, refrigerate for at least 8 hours.
 - To make the topping, simply warm the remaining Lotus Biscoff spread in the microwave or in a water bath, then pour it over the cheesecake. You can decorate the cake with crushed biscuits. Enjoy!200 g Lotus spread, 50 g Lotus cookies for decorating the cheesecake

Nutrition
Percent Daily Values are based on a 2,000 calorie diet
You are here: